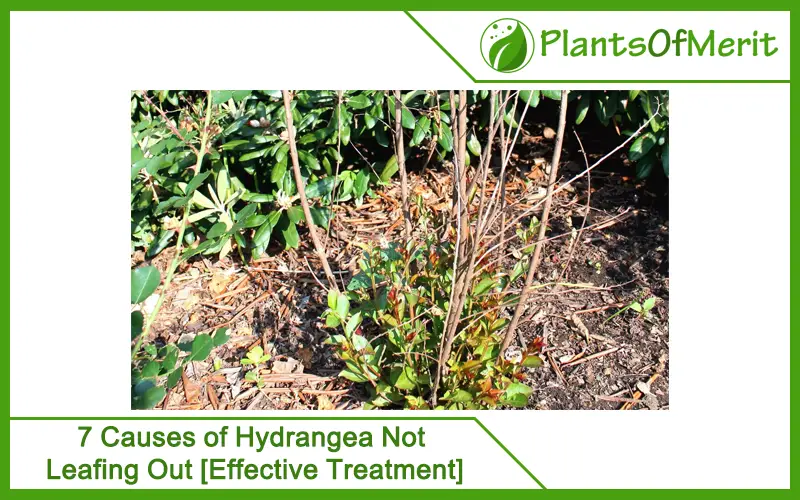
Hydrangeas are very beautiful plants that are commonly planted in gardens for their attractive blooms in different colors. But, these plants can also have a lot of problems that may affect their growth. If your Hydrangea plant is not growing or leafing out properly, it is a matter of concern. Some factors may lead to stunted growth of Hydrangea along with other problems like not leafing out.

Some of the most common factors include too much or inadequate sunlight, fertilization, and others. If you’re noticing this symptom for a long time, you must look into the reasons and causes of why your Hydrangea plant is not leafing out. This post will further take you through all that you should know about Hydrangea plants not leafing out with the most effective treatment for each cause:
Why Hydrangea is not leafing out?
If you find that your Hydrangea plant is not leafing out as it should, it can be a reason to worry. There are various species of Hydrangeas and their blooming, as well as leafing seasons, differ. If you find that your Hydrangea plant is not leafing out for a long time, the possible reasons can be:
1. Insufficient watering
All types of Hydrangea need a lot of water. These plants are thirsty and need too much water, particularly when growing in a plant pot or your garden. Having insufficient water can cause stunted growth in the Hydrangea plants. Underwatering is a common phenomenon in plants as most people don’t know how much water is needed for these plants to survive and grow properly.
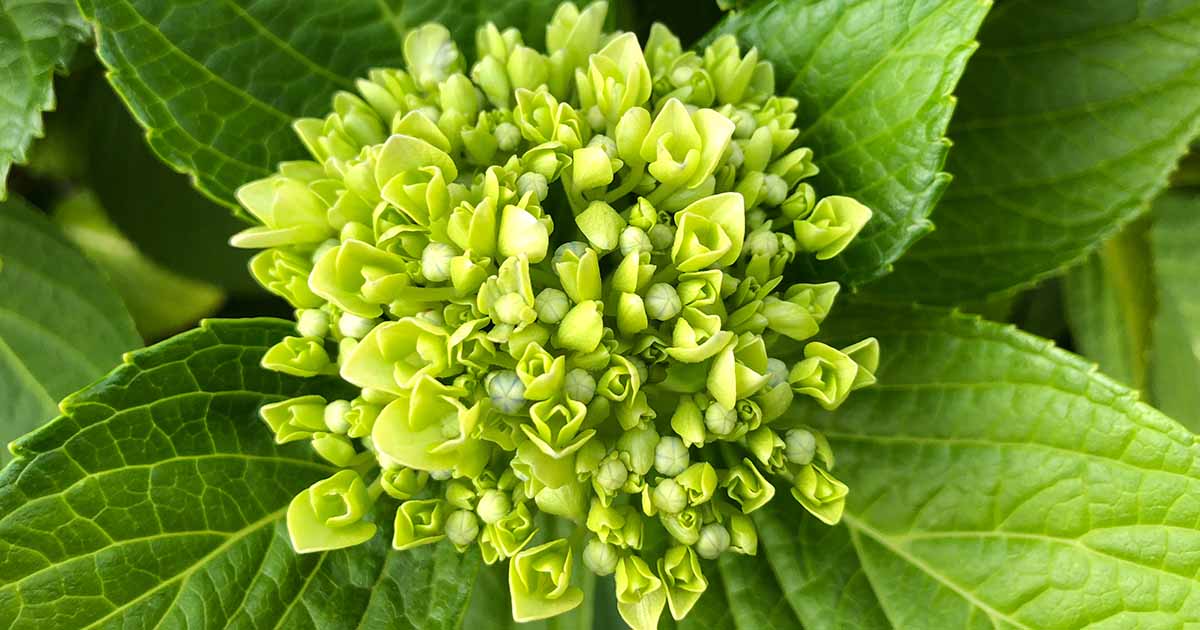
The soil in which you plant Hydrangea must be regularly moist, and if you leave it to dry in between watering sessions, it may hamper the growth of your plants and your Hydrangea plants will not bloom properly.
Effective Treatment
If you have a Hydrangea, you must water it properly based on the plant type and climate of your area. Hydrangeas need a minimum of two inches of water every week to grow under your care. So, if you keep your hydrangeas outdoors and they don’t get smoke rainfall, you will have to water them regularly. You can also make use of a rain gauge to keep a track of the amount of rainfall your Hydrangea plants receive and how much you need to provide artificially.
2. Nutrient deficiency in soil
Just like all other plants, Hydrangeas require a few nutrients in particular amounts in their soil to thrive properly. They are often sensitive to nutrient deficiency or nutrients in the soil. The important nutrients you must check for in the Hydrangea soil are nitrogen and phosphorus. Nitrogen is the most important nutrient required by a plant to survive. If the soil has a nutrient deficiency, Hydrangeas will not leaf out.
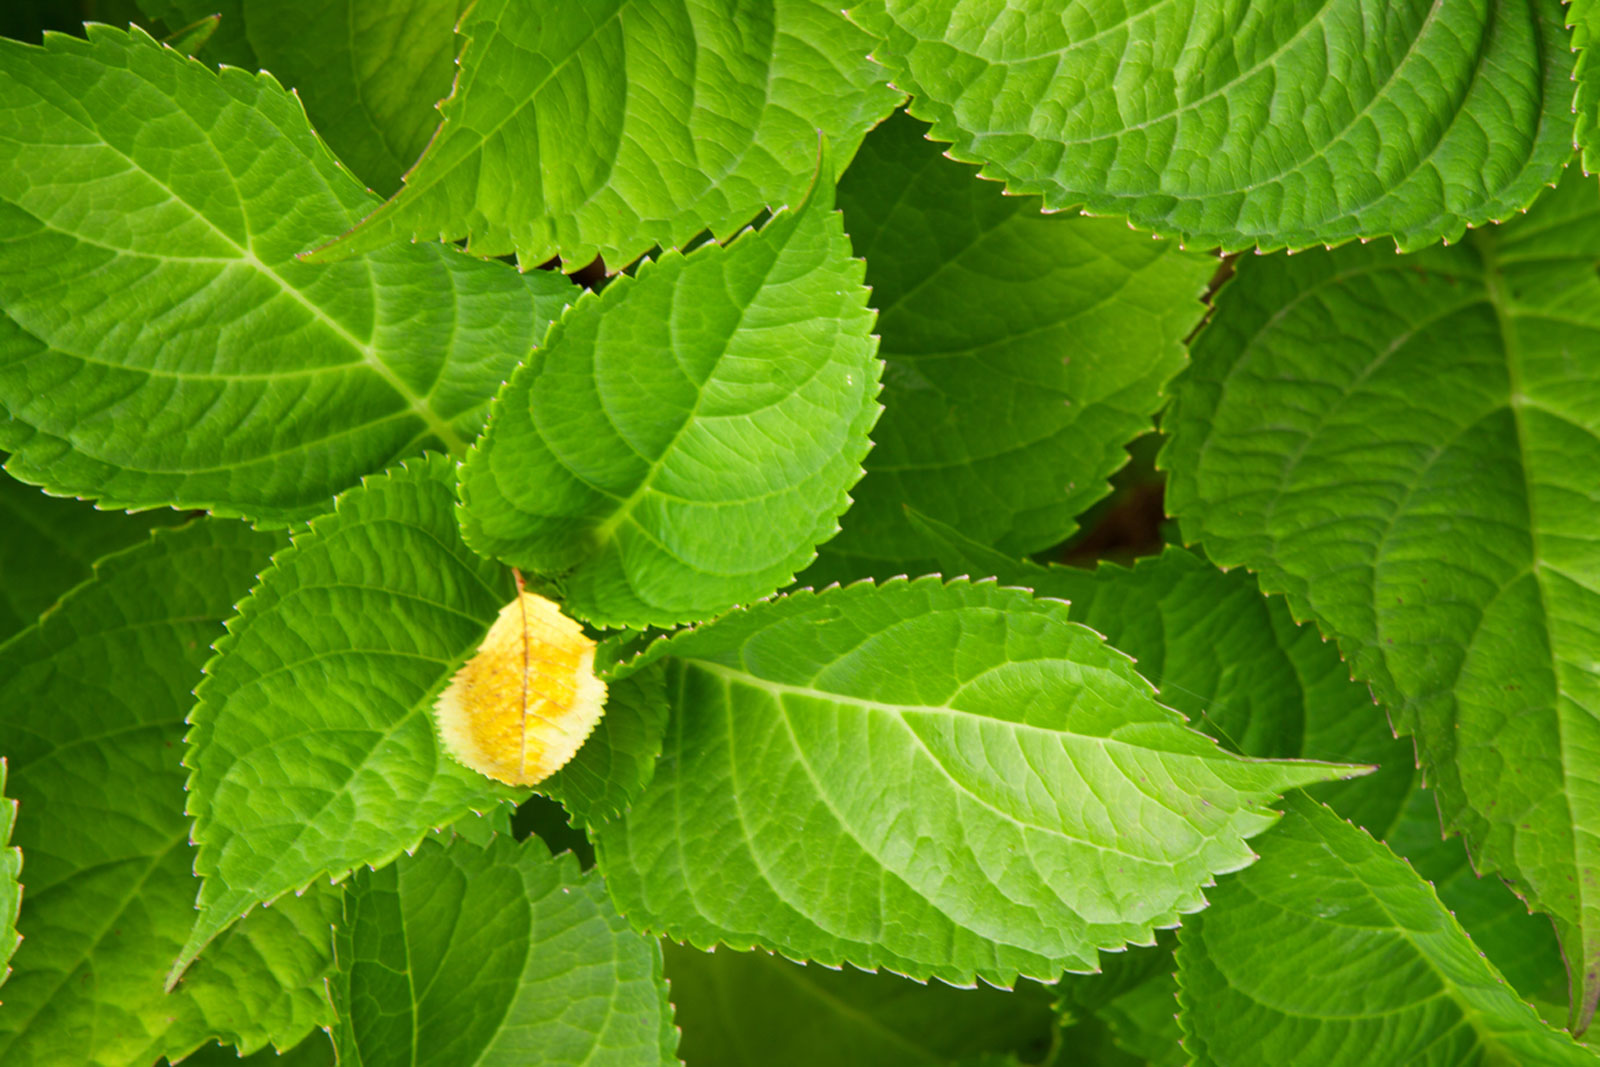
Phosphorus is a significant nutrient that is needed by all plants. It helps the plants to produce new roots. If there is phosphorus deficiency in the soil of your Hydrangea plants, then it will cause stunted growth.
Effective Treatment
You must get the soil of your Hydrangea plant tested to check whether it has all the important nutrients. You’ll also know if there is a deficiency of any nutrient in the soil. If you find that this is the reason, you can use phosphorus and nitrogen fertilizer as supplements.
You should also check the pH level of the soil of your Hydrangea plant. They prefer soil that is slightly on the acidic side and they can’t grow in alkaline soil. So, if you find your Hydrangeas having a slow growth or they are not leafing out, you must fix the pH level of their soil.
3. Rootbound
Another reason why your Hydrangea plant may not be leafing out is the space where they have to grow. Hydrangeas can’t grow well if they are root bound; they must get enough space for growing and spreading their roots.
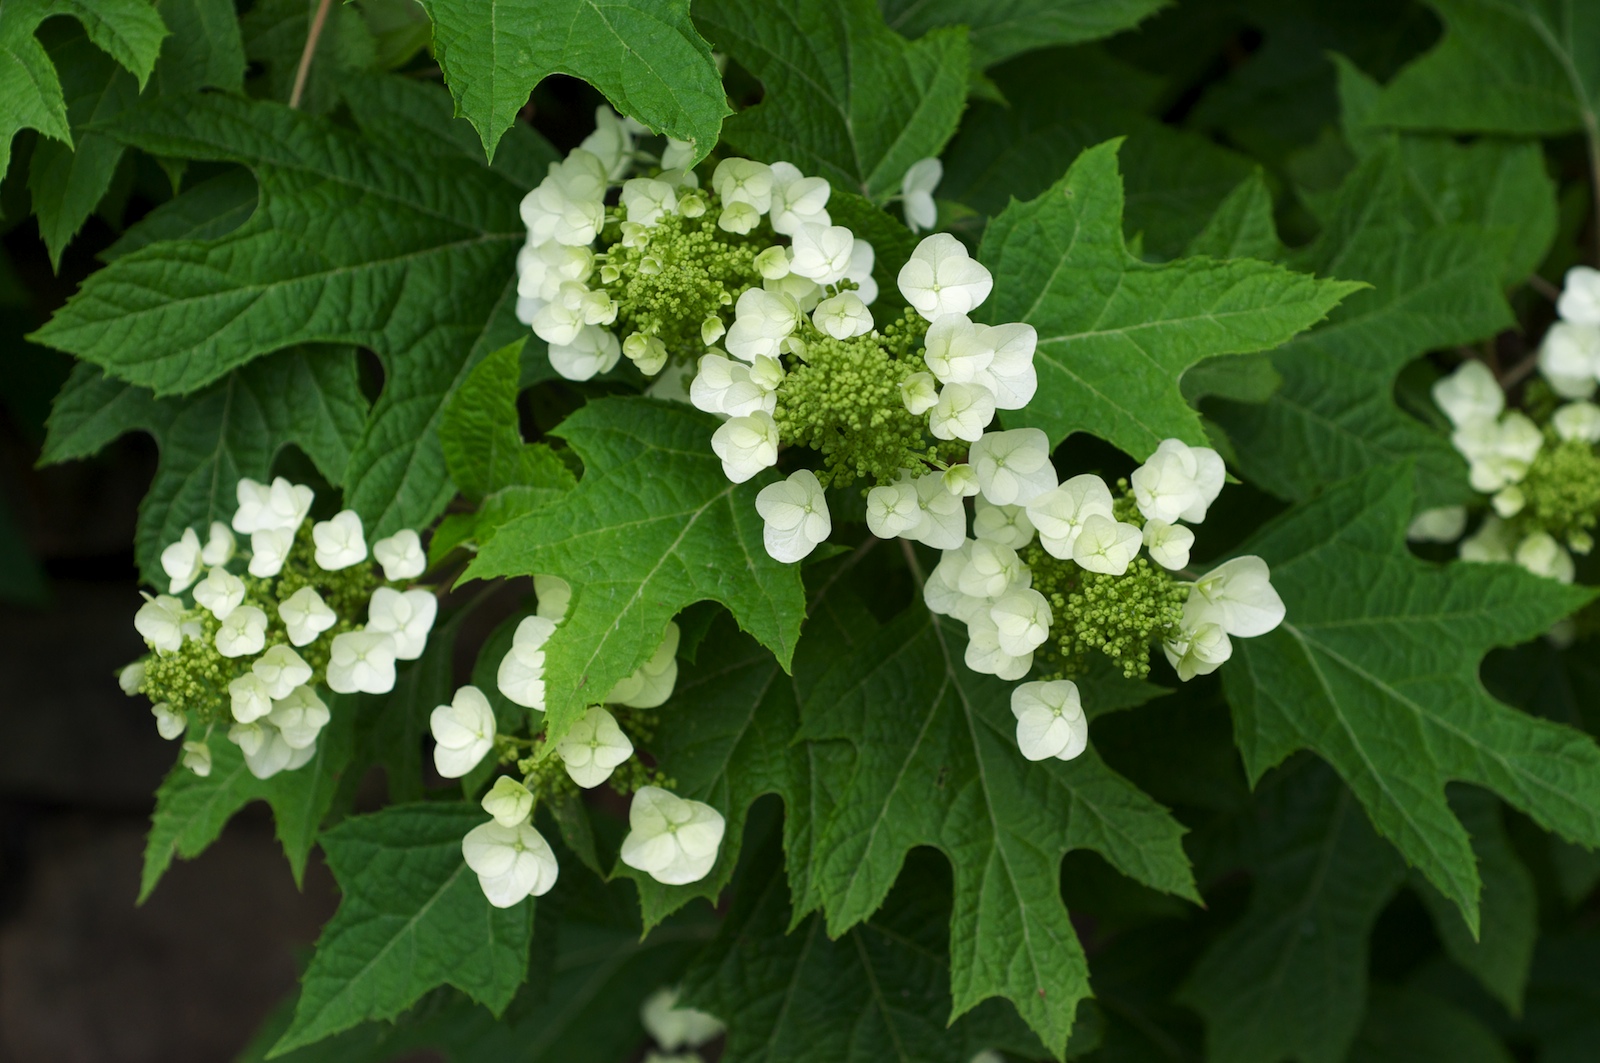
If you just make a hole in the flowerbed that is large enough for your Hydrangeas to root ball and plop in the plant. This can cause your Hydrangea plant to become root bound, particularly if the soil is hard or it doesn’t get enough water for the soil to be moist.
Effective Treatment
You must fix this problem immediately as it may kill your Hydrangeas. If you have Hydrangea plants in your garden, you must soften the soil of the plant to let it grow properly. If your Hydrangea is in the pot, you must repot them in a pot this is almost two times the size of the plant.
4. Too much pruning
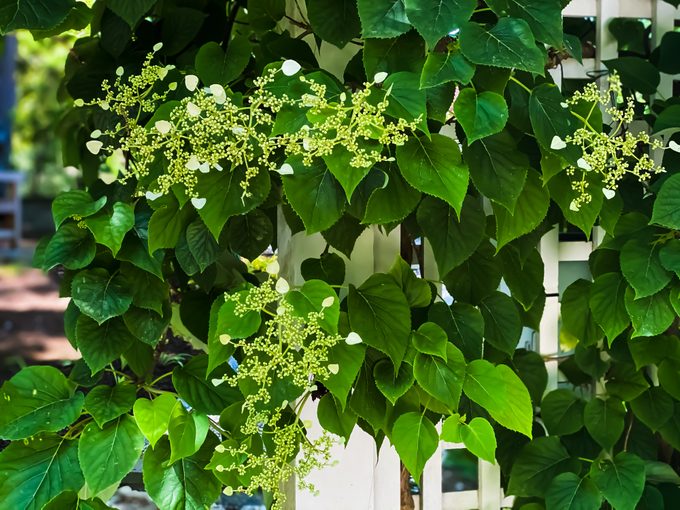
Pruning your Hydrangeas can be quite difficult for many people as you must prune your Hydrangea. You shouldn’t prune it too much as it will affect the growth of plants. This is a common reason why people struggle with Hydrangea plants. If you prune your Hydrangea plants in the late spring or autumn and cut it down totally, you may cut them away from the older wood where the flowers and coming new growth.
Effective Treatment
With some species of Hydrangea, you must not cut them down, even in the winter, as this will hamper their growth. You must prune them lightly in the summer season after the flowers start fading. You must only trim off the dead branches as well as deadhead flowers when the Hydrangeas are pruned.
Make sure that you don’t trim off new growth until you want to propagate the plant. However, if you are not sure about how you should prune the Hydrangea plants, the best thing to do is not prune. This will make sure your plants are in good health and will grow properly as you won’t do accidental pruning making your plants stressed and slow growth.
5. Early plantation
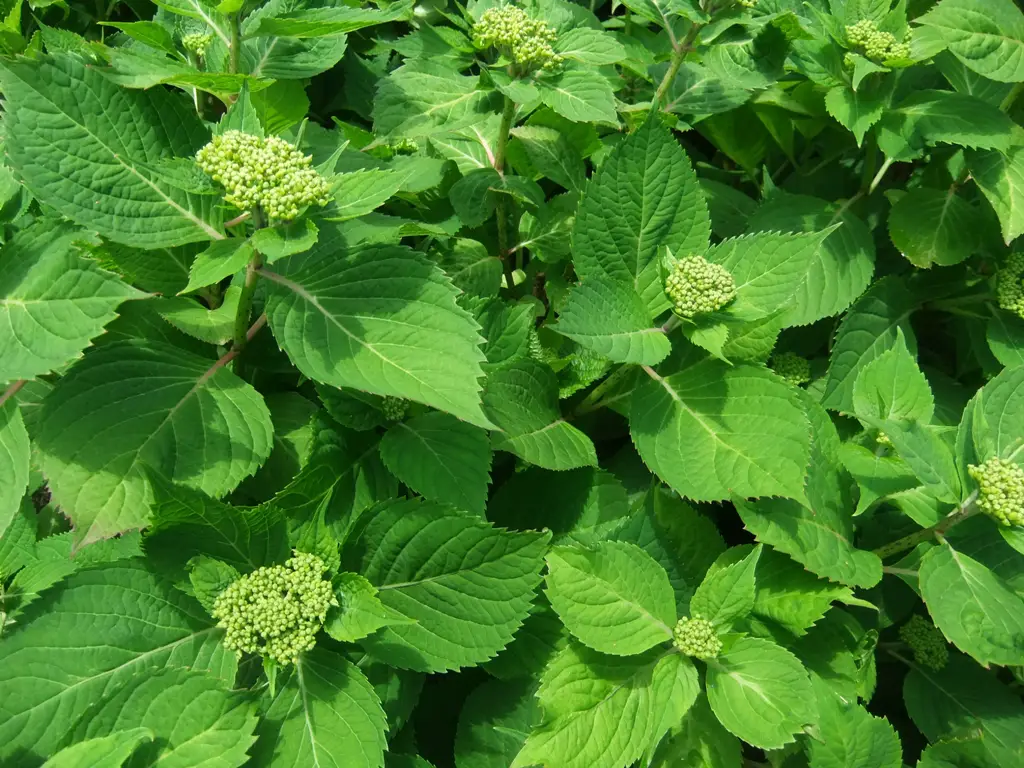
Another reason why your Hydrangea plants may not lead out properly is that they have been planted too early in that season. As these plants need too much water to grow properly in their new home, you must plant them in the early fall or late spring, when it is cooler outside. This will keep your Hydrangea plants moist and cool, causing healthy growth, other than having to fight against the mid-summer as they try growing.
Effective Treatment
Planting your Hydrangea plants in the dry summer season can cause a lot of stress on the plant, causing stunted growth. You must wait till the temperature starts dropping slightly before you plant your Hydrangea plants so that the plants can grow properly in your garden. This will help in making sure that your Hydrangeas get a chance to grow in good health.
6. Too much sun exposure
If you keep your Hydrangea plant too exposed to the sun, it may cause problems which include not leafing out and stunted growth. When you keep your Hydrangea at a place where they get too much direct sunlight, the plant will get stressed.
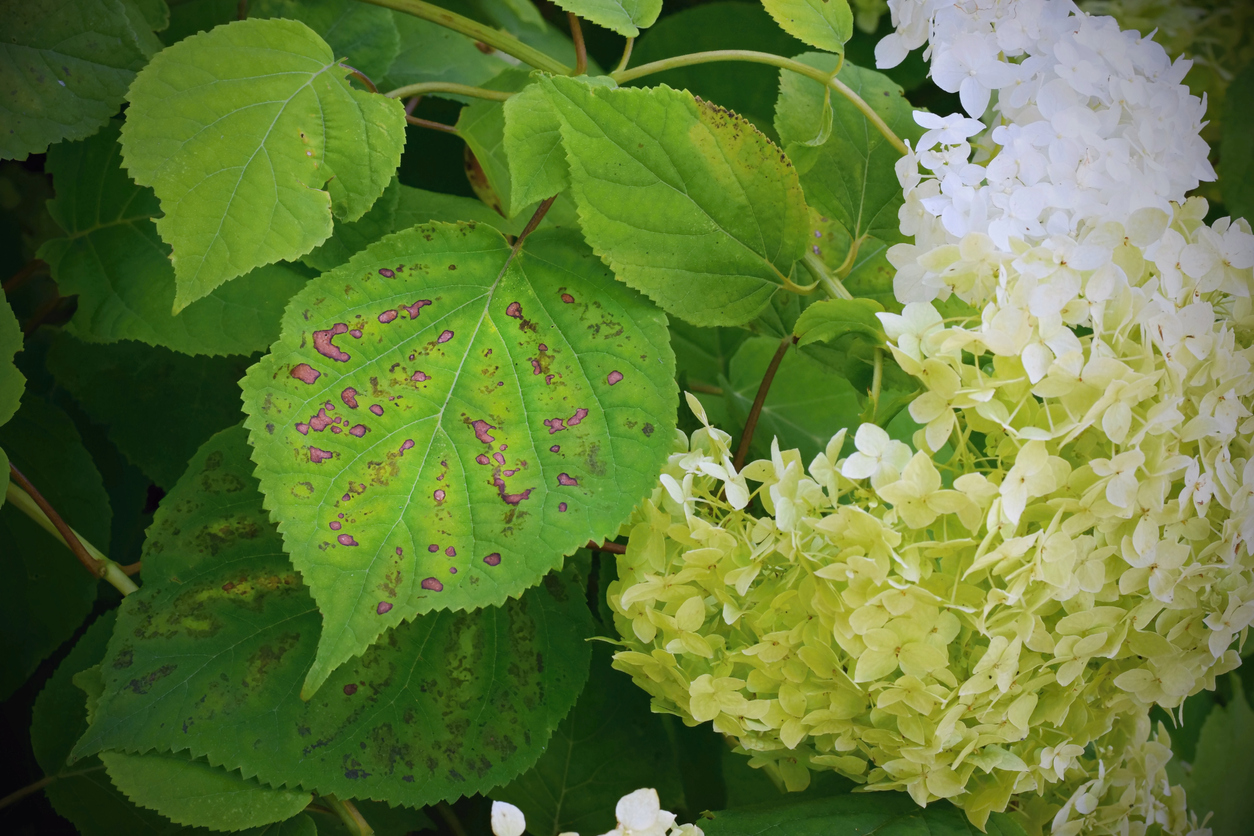
If your Hydrangea plants are stressed, they will start slowing down their growth as they will try conserving energy to live. When your Hydrangea plant is stressed, it will not thrive and produce flowers in that season.
Effective Treatment
This is a very important reason for you to know and understand. It will help you understand how you should care for your particular type of Hydrangeas based on the climate you live in. You must do proper research about the zone you live in and then choose which species of Hydrangea you should plant.
Keep in mind that Hydrangeas can’t grow when they are over-exposed to direct sunlight and that’s why you should do good research before you add a Hydrangea plant to your garden.
7. High nitrogen fertilizer
When you provide your Hydrangea plants with a lot of Nitrogen, they stop leafing out properly. What they require are fertilizers which have a high amount of phosphorus in them. The reason is that phosphorus causes them to bloom properly. This type of fertilizer is often known as a flower booster and you must spray the only in the spring and mid-summer season.
Effective Treatment
Make sure that the fertilizer that you use doesn’t have a high amount of Nitrogen. It should have high phosphorus content instead. You can check the ingredients list on the packet of the fertilizer you choose. Also, to spray the fertilizer properly, don’t forget to follow the instructions mentioned on the packet.
Conclusion
That’s all about the causes of Hydrangea not leafing out. All the solutions mentioned above are highly effective in solving this problem and you can use them to get rid of these causes. Also, if you are new to gardening you must check all these factors before planting a Hydrangea in your garden to ensure that you don’t put the plant’s health at risk. All the causes have been explained above with their treatment that is 100% effective. So, once you are sure about the cause, start the treatment immediately without delaying further.

